To manage the application cloud infrastructure more efficiently, we can use the Terraform for IaC(Infrastructure as Code). But today, we’re not going to talk about the Terraform, we’re going to talk about the Pulumi. A powerful IaC tool that manages the cloud infrastructure.
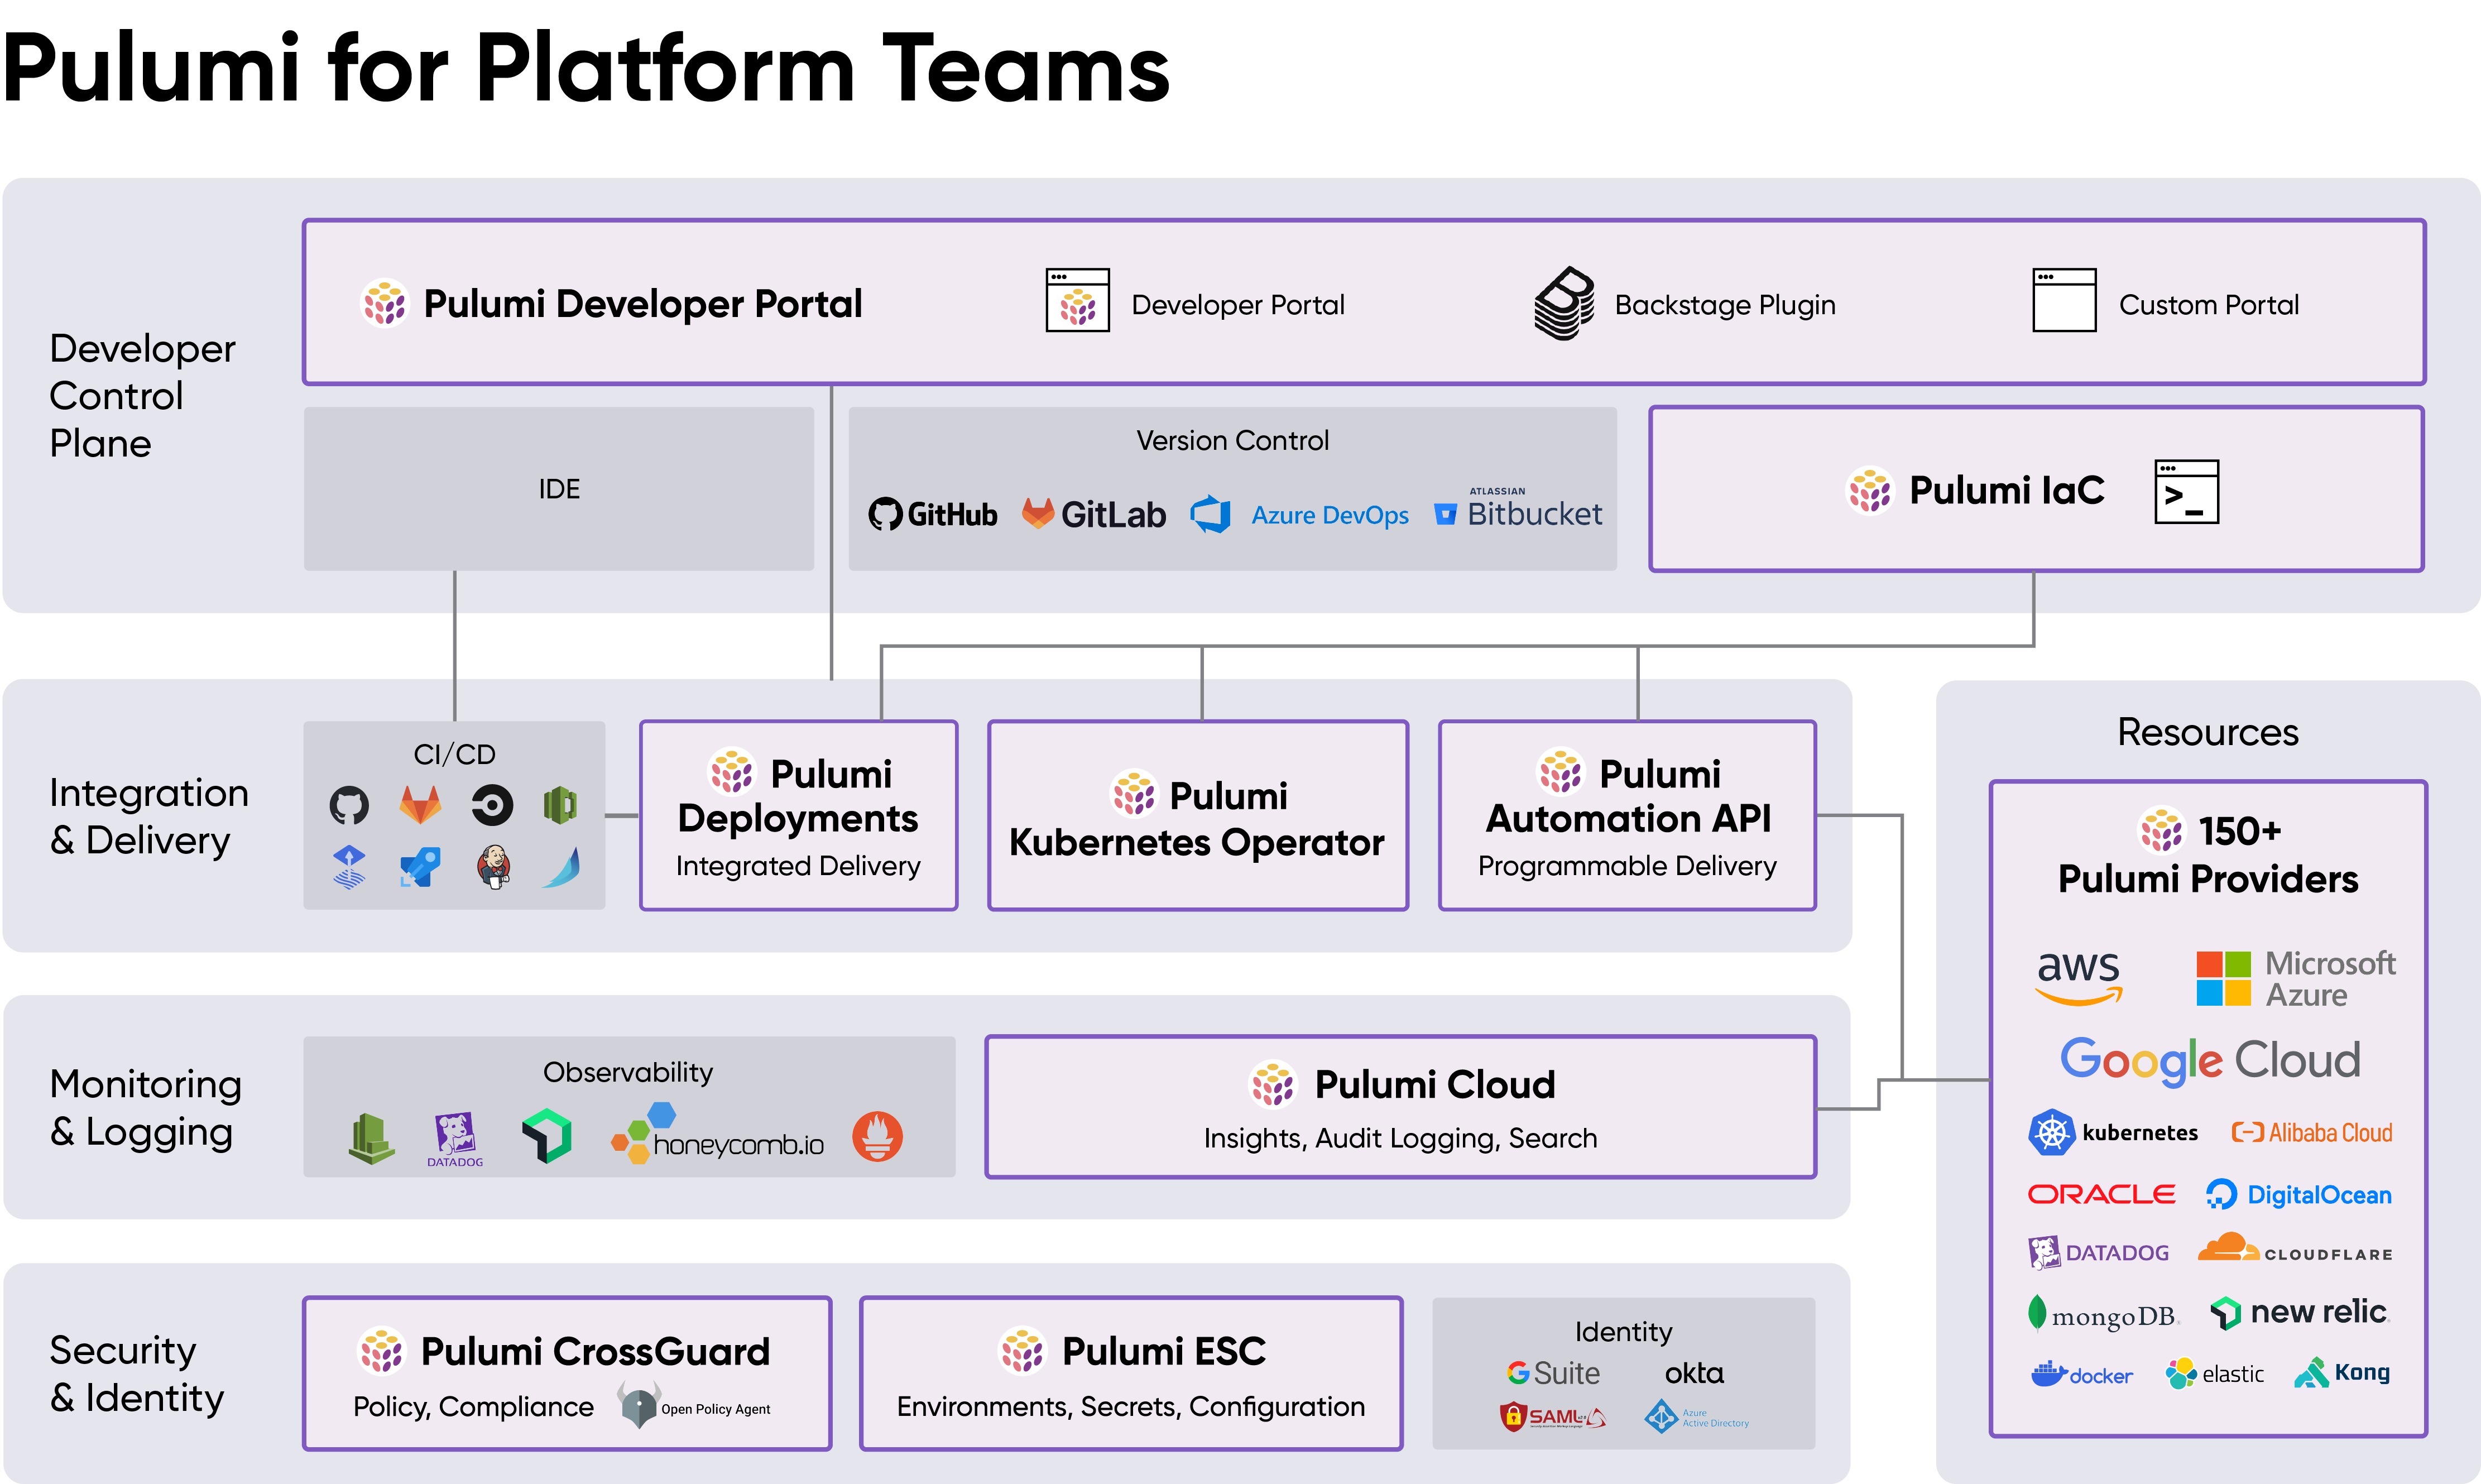
Pulumi is an open-source infrastructure as code (IaC) tool that provides a powerful way to create, deploy, and manage cloud infrastructure. It is the easiest way to build and deploy infrastructure, of any architecture and on any cloud, using programming languages that you already know and love, such as TypeScript, Python, Go, C#, Java etc.
It is a cross-platform tool that runs on Windows, Linux, and macOS, and supports a wide range of cloud providers, including AWS, Azure, GCP, Kubernetes, Docker, and more. It is also easy to use and has a simple and intuitive interface.
CI/CD integration is also supported, which means you can use Pulumi to deploy your infrastructure as part of your CI/CD pipeline. This makes it easier to manage and update your infrastructure as your application evolves.
Install Pulumi
The pulumi is a cross-platform tool that runs on Windows, Linux, and macOS. You can find and download the latest version from the official website: https://www.pulumi.com/docs/install/versions/. Follow this link to https://www.pulumi.com/docs/install/ to install the Pulumi CLI. It’s very simple to set up the Pulumi CLI on your machine.
Once you installed pulumi, simply run the below command to check the version:
1 | pulumi version |
Create a new Pulumi project
To create a new Pulumi project, you can use the pulumi new command. Below command is creating a new project with AWS Python template.
1 | pulumi new aws-python |
This will create a new project with a simple AWS Python template. The project will have a Pulumi.yaml file, which is the configuration file for the project.
Configure the Pulumi project
The Pulumi.yaml file is the configuration file for the project. It contains the project name and some configuration.
1 | name: my-project |
In the above configuration, we have set the project name as my-project, the runtime as python and the virtualenv as venv. The description is a brief description of the project.
Create a new stack
To create a new stack, you can use the pulumi stack init command. Below command is creating a new stack with the name dev.
1 | pulumi stack init dev |
Once you created the stack, the pululmi will generate a file named Pulumi.dev.yaml in your project folder. You can select it using the pulumi stack select command.
1 | pulumi stack select dev |
Configure the stack
The Pulumi.dev.yaml file is the configuration file for the stack.
1 | encryptionsalt: v1:6YTR30z2X9tM=:v1:+fJN/nMOdJM+XjeZ:P7V9XPB9GHKE/dBuXX1uOCNGwgQztre== |
In above configuration, we have set the encryption salt (this is generated), and the AWS region and profile. You can add more configuration as per your requirement.
Create a new resource
To create a new resource, such as s3 bucket, you can write python code in the main.py file. Below is the code to create a new s3 bucket.
1 | import pulumi |
In the above code, we have imported the aws module and created a new s3 bucket resource. The Bucket function creates a new s3 bucket with the name my-bucket.
Preview the changes
To preview the changes, you can use the pulumi preview command. This command will show the changes that will be applied to the infrastructure.
1 | pulumi preview |
Below is the project currently I’m working on for pululmi preview showcase.

In above screenshot, you can see the changes that will be applied to the infrastructure. Including update, create and delete resources listed. You can also use the --diff option to show the difference between the current state and the desired state.
1 | pulumi preview --diff |
Deploy the infrastructure
To deploy the infrastructure, you can use the pulumi up command. This command will deploy the infrastructure as per the configuration in the Pulumi.yaml file.
1 | pulumi up |
This will deploy the infrastructure and show the output.
Check the status of the infrastructure
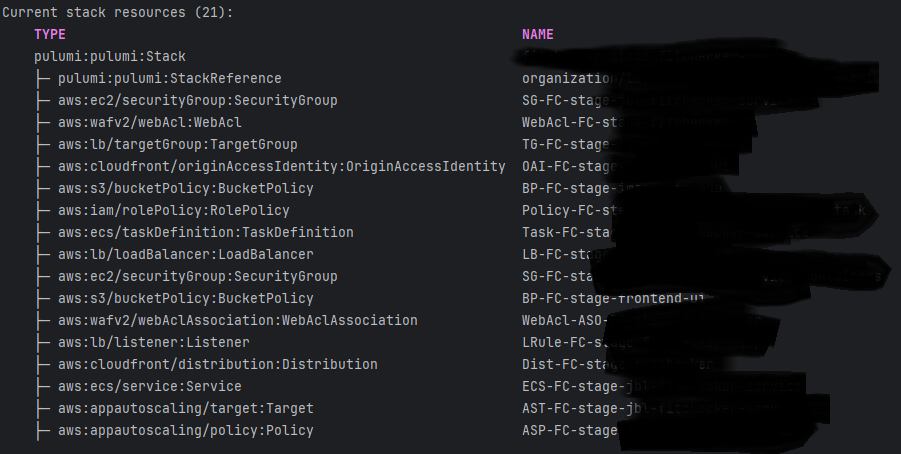
To check the status of the infrastructure, you can use the pulumi stack command. This command will show the status of the infrastructure.
1 | pulumi stack |
This will show the status of the infrastructure. Below is the output of the pulumi stack command of one project I’m working.
Destroy the infrastructure
To destroy the infrastructure, you can use the pulumi destroy command. This command will destroy the infrastructure as per the configuration in the Pulumi.yaml file.
1 | pulumi destroy |
This will destroy the infrastructure. Please be aware that this command will destroy all the resources in the stack. It’s dangerous to use this command, so use it with caution. You should know what you’re doing before using this command.
There are much more features of Pulumi, but I hope this article will give you a good idea about Pulumi.
Conclusion
Pulumi is a powerful IaC tool that manages the cloud infrastructure. It is easy to use and has a simple and intuitive interface. It supports a wide range of cloud providers, including AWS, Azure, GCP, Kubernetes, Docker, and more. It is also easy to integrate with CI/CD pipeline.